Scene Settings
Change the Scene
Our public scenes database offers a wide array of options to choose from to change your scene. Additionally, you have the option to upload your own custom scenes through our scene editor, Creator. If you happen to be a room moderator, accessing the scene browser is as simple as opening the dropdown menu and navigating to the scene settings.
Change Room Name
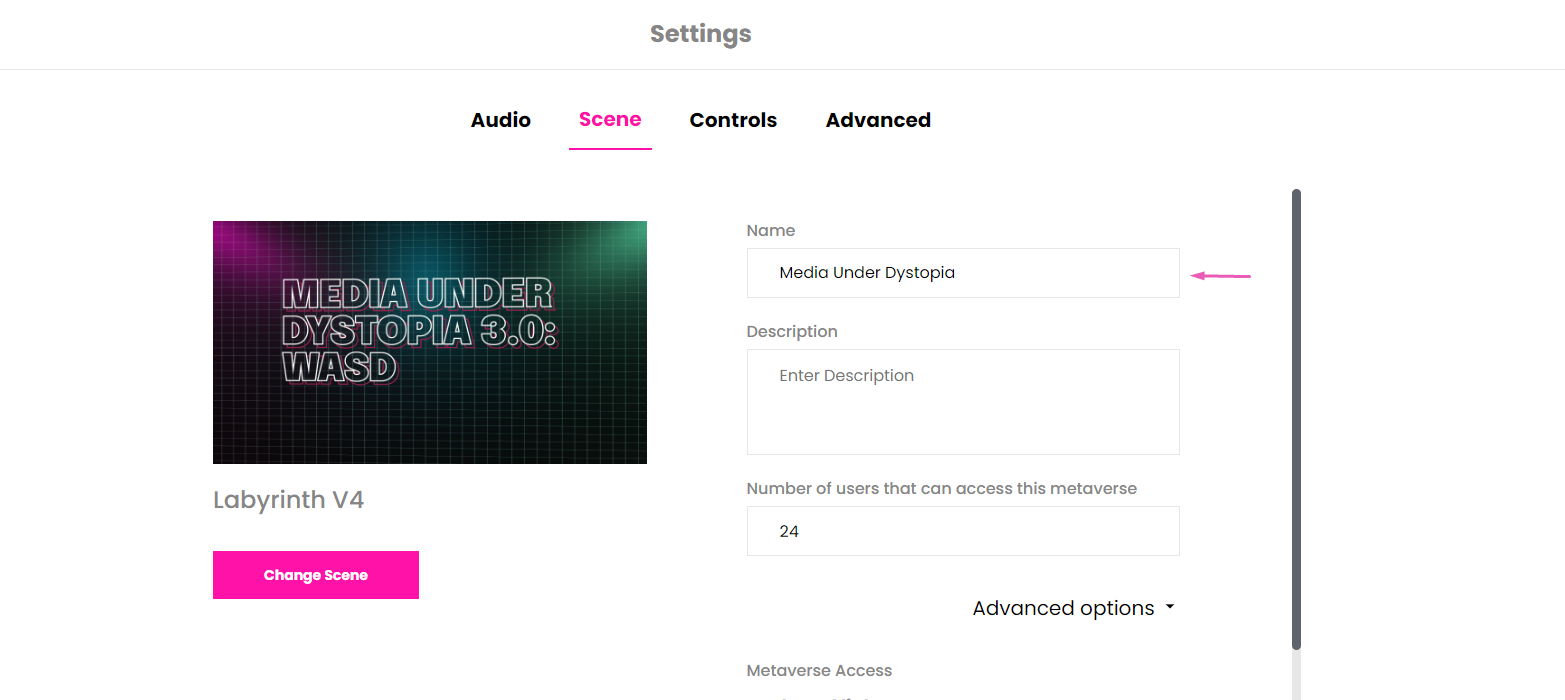
Room moderators have the ability to rename a room by selecting "Settings" from the dropdown menu, navigating to the scene settings tab, and entering a new name.
Room Permissions
Room Access
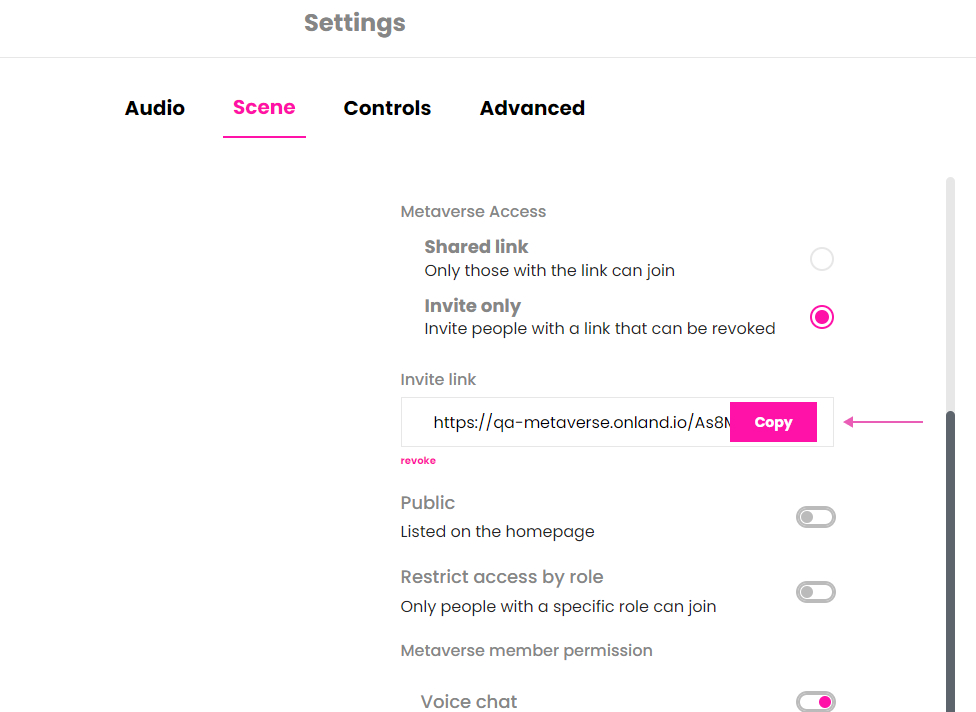
By default, rooms are set to "Shared link" mode, where room links contain unique, random identifiers. Sharing this link will give anyone access to the room.
You can also set the room to "Invite only" mode, which allows you to generate a link with an additional unique, random identifier. Visitors must then use this invite link to access the room, and the invite link can be revoked to deny future access to the room. When an invite link is revoked, a new one is generated in its place. Users who are already in the room will not be removed from it.
Please Note: If you want to return to "Shared link" mode from "Invite only" mode, keep in mind that "Shared link" mode is less restrictive. It allows users with previously revoked invite links to regain access to the room. To prevent this, it is recommended to keep the room in "Invite only" mode.
Voice Chat and Chat Messages
To ensure an uninterrupted experience in the metaverse, you have the option to restrict voice and message chats, allowing only room moderators to speak and send messages within the room. To achieve this, simply access the settings page of your room and disable the voice and message chat options.

Create, Pin and Move Objects
You also have the flexibility to define the abilities of users in the room, such as creating and moving objects, pinning content, and using the pen to draw. To configure these settings for your Onland room, click on the more icon, choose 'Settings', navigate to the scene tab, and then toggle the permissions according to your preferences.

Drawings, Emotes and Fly Mode
Additionally, you have the option to determine whether users in the room can create emojis, drawings, or fly. These options can be individually disabled as needed. By default, all of these features are enabled.
Promoting Room Moderators
In the presence of other trusted users, the room owner has the ability to grant moderation permissions to additional users. These promoted moderators will possess the same level of control as the room owner, so it is crucial to ensure that only trusted individuals are given this role. Moderators will have the authority to rename, change scenes, and close the room.
To promote a user to moderator, select the user from the user list and click the "Promote" button. Users need to be signed in to be promoted.
Maximum Capacity
Onland rooms are designed with a maximum capacity of 50 people in the actual room, but to ensure optimal performance on various devices, it is typically set to accommodate 30 users. Nonetheless, an unlimited number of individuals can observe from the lobby, even when the room is at full capacity.
Users in the lobby have the ability to observe and listen to everything happening inside the room, and if chat functionality is enabled, they can also interact with others. In cases where the room reaches its full capacity, we recommend enabling "Streamer Mode" to broadcast a moderator's view to the lobby, allowing more people to participate in the experience.
Streamer Mode
"Streamer mode" facilitates the broadcasting of a moderator's view to the lobby, enabling users who haven't entered the room to observe the virtual space from the moderator's perspective. To activate "Streamer Mode," simply choose 'Lobby Cast' from the tools menu.
Kick Users
To temporarily kick a user from the room, open the avatar menu and select "Kick."
Embedded Rooms
You can also embed rooms that you own into an existing webpage via an iframe. For larger events that have multiple rooms open at the same time, it can be helpful to embed rooms into a central location to help people find occupied rooms and enter from a single location.
Advance Options
Using Room for an Event
If you want to use a specific room for an event, you only have to add the slug of the event (the part after /event/) and paste it in the input field.
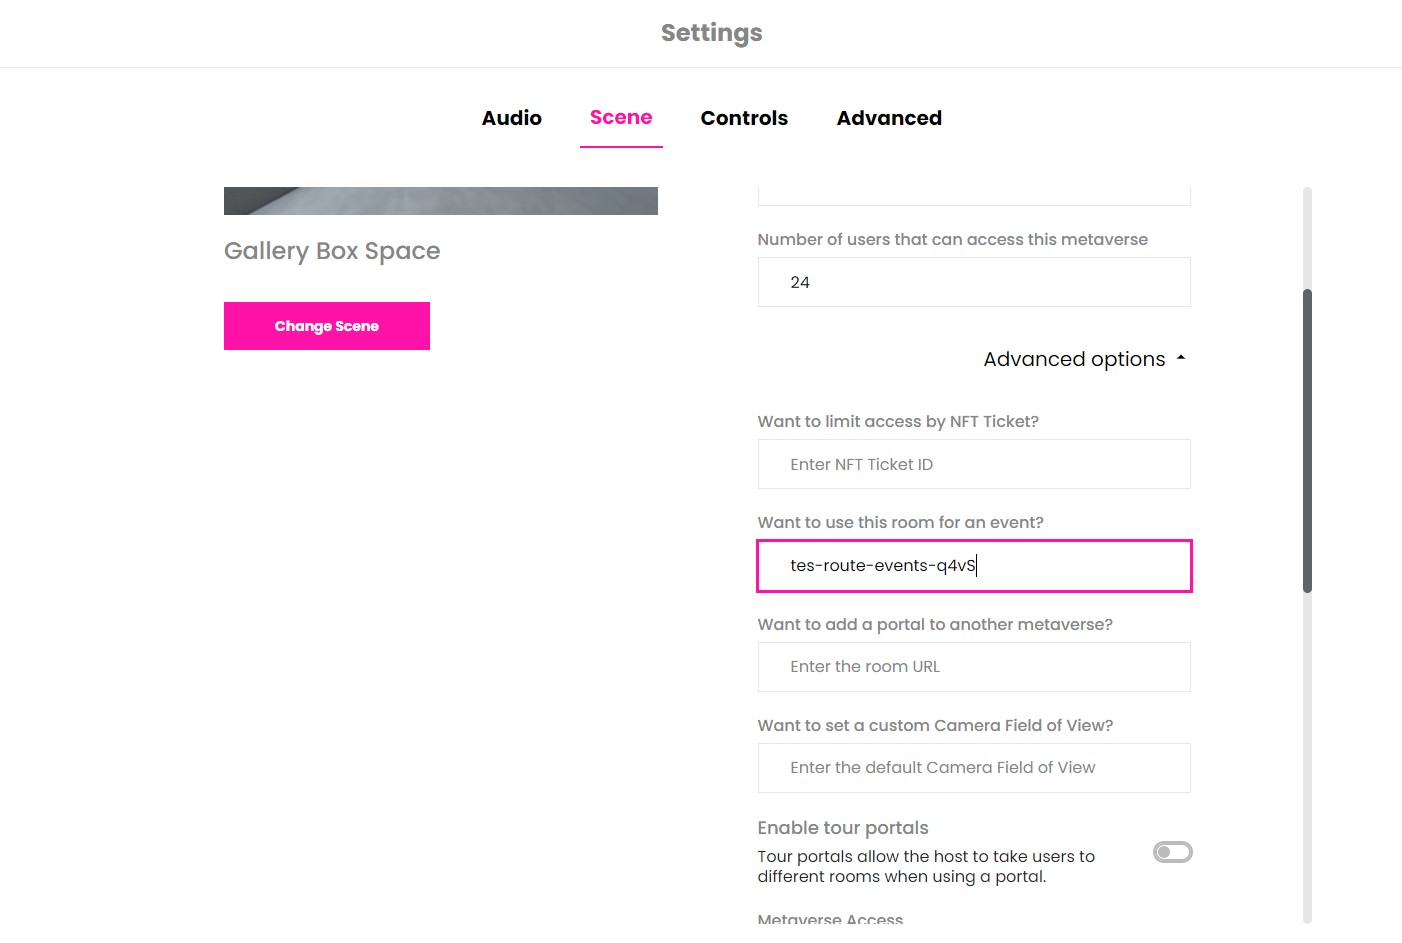
This ensures that users that leave the room are redirected to the event landing and that only people who RSVP the event can enter the room.
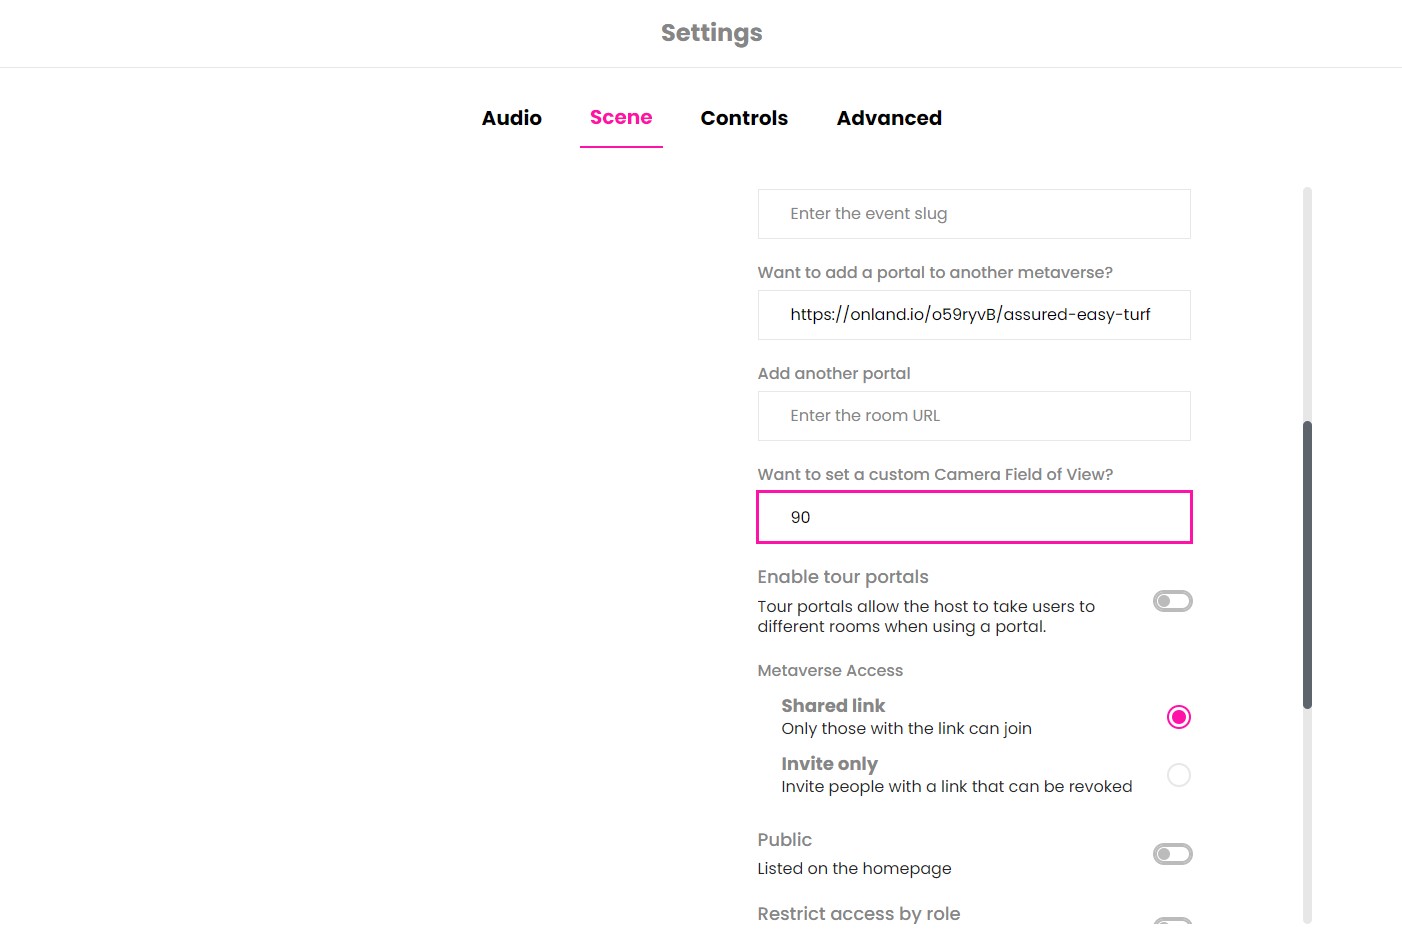
Add a Portal
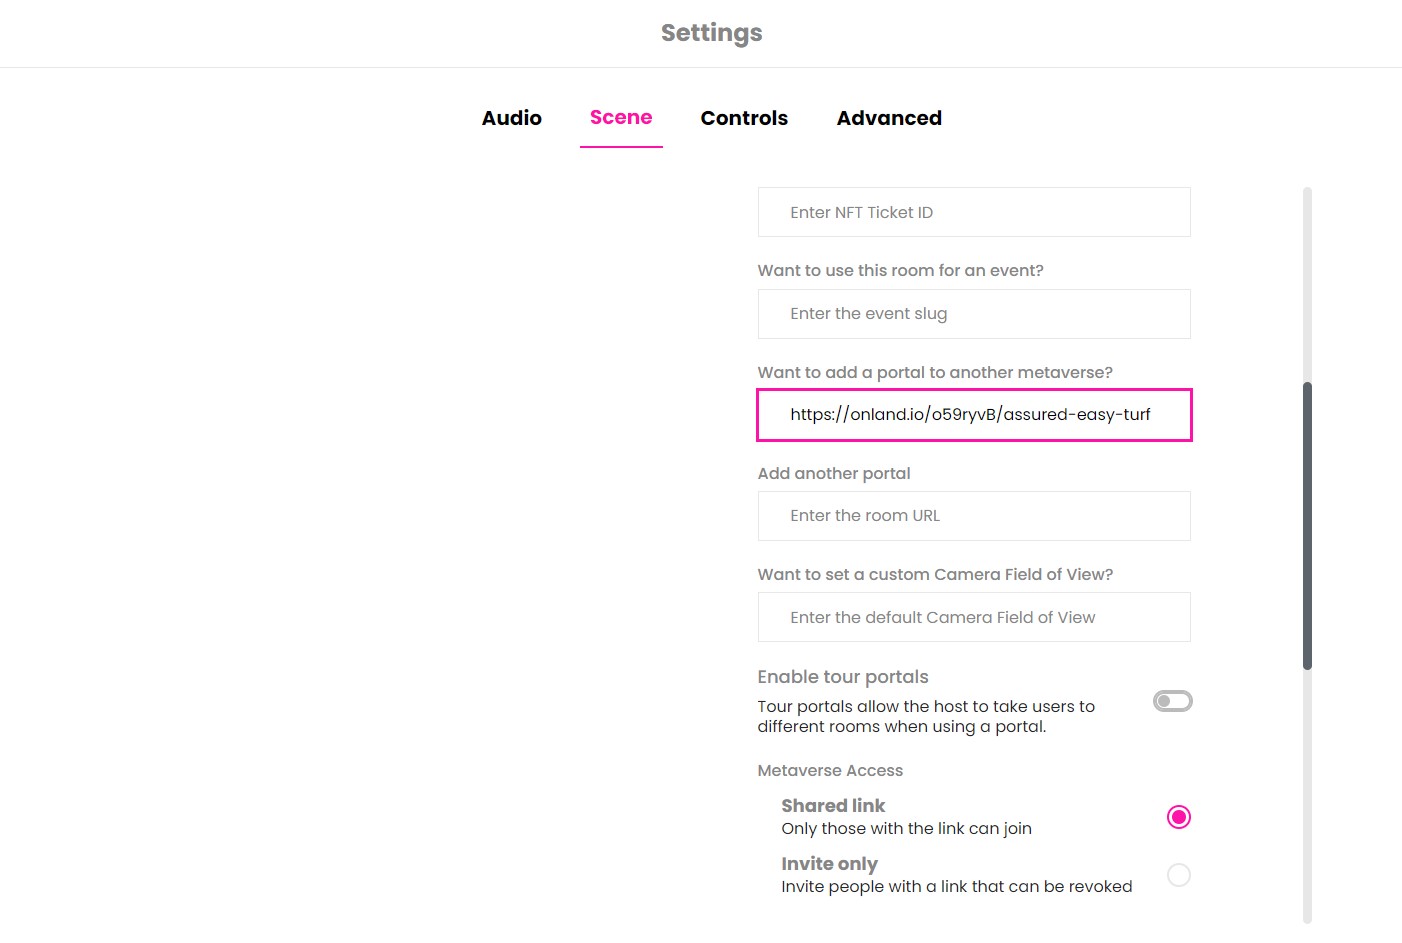
By pasting the link of another room/metaverse instance in this input field, you can introduce portals into the 2D view. Upon doing so, a new field will automatically emerge, allowing you to add additional links to other rooms.
Add URL to redirect users when they leave the room
You can add a URL to redirect people to another page when they leave the metaverse. This is especially convenient when connecting a room to a custom landing or your webpage.
To do this, copy the URL into the redirect URL input and save the settings.
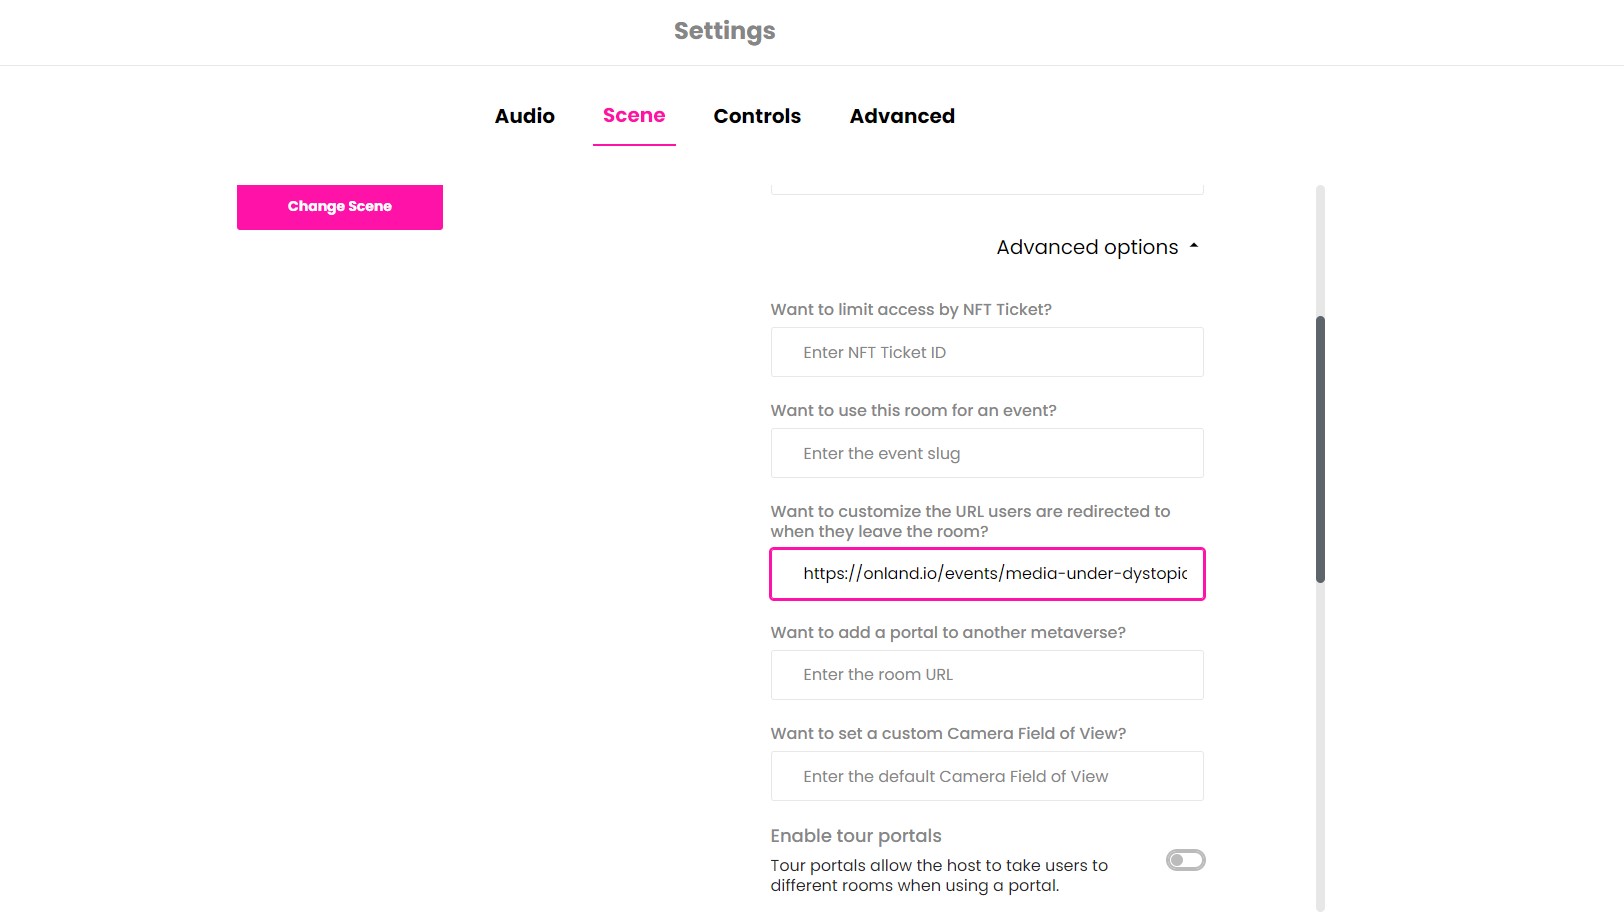
Once people click on the "Leave room" button in the metaverse UI, they will be redirected to that page.
Custom Camera Field of View
If you desire to alter the field of view for the entire scene, you can input the desired degree. This will change how the room is perceived through the camera by other users.
Enable Tour Portals
You can create an immersive experience by incorporating portals that allow both the host and other users to travel to different rooms together. By enabling the "Tour portals" option, you ensure that all participants will seamlessly move from one room to the next.
- Make you have a link to another room, you can copy/paste the link of the room in the scene or see other options to link rooms inside the metaverse.
- Go to the settings of the scene, open the Advance Settings dropdown and enable the Tour Portals option.
- Click on the portal to take other users with you.
- To make it a tour, make sure to create another portal to go back to the previous room. You will have to enable tour portals in that scene too.
This feature is particularly useful for showcasing artworks exclusively in one room, as changing the scene for individual users might not be feasible or desired in such a context.
Remember: make sure the other rooms also have the Tour Portals option enabled to make sure you can move between rooms.
Close a Room
After leaving an Onland room, the space remains accessible through its URL. However, you have the option to permanently close the room by selecting "Close Room" from the dropdown menu. Once closed, the links and codes for the room will become invalid for everyone, including the room owner.